SolVe Mount & 100 year-old slate Vs large hammer
We put the SolVe Mount to the test by using the oldest, thinnest slates we could find and tried to break the slates and watertight seal by hitting it with a hammer to simulate movement of the bolt/solar array during installation or extreme weather.

SolVe Mount & 100 year-old slate
Extreme movement test
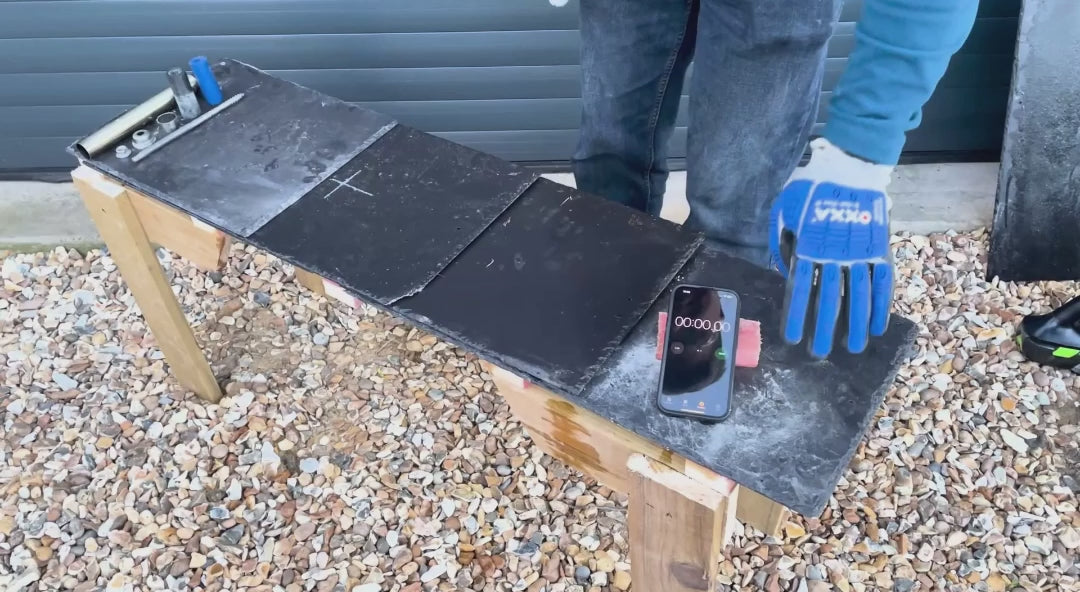
Timed Slate SolVe Mount Installation
1m 24s is the time to beat.
Send us a video beating this time and get a box of Solve Mounts on us! *Limited to one per customer, time does not include finding the rafter.
How do you locate the rafters when installing solar panels?
Highlights
- You don't need to be dead centre of the rafter, the SolVe Mount has some tolerance.
- Find the first row and measure up the roof. After drilling the diamond cut hole, poke your fingers through the hole to check how central you are to the rafter, measure up to the next mount and make adjustments left or right if needed.
- Worst case - you drill a hole and miss a rafter - simply use one of our SolVe Fix seals. The same IPx8 rated expanding seal. They'll last longer than the roof covering, without any sealant, downward pressure or having to remove/replace slates/tiles.
- Remember your mounting zones to avoid the battens. Within 60mm of the overlapping slate/tile above.
1. Bosch GMS 120 or similar stud finder (one that can distinguish between ferrous and non ferrous metal)
The tag and scan method (if rafters accessible)
Place 10-25cm long peices of copper plate onto the rafter that you need to find. Remember you only need to find the first row, working your way up the roof is then straightforward.
Use copper as your stud finder will be able to distinguish between ferrous (metal containing iron such as nails) and non ferrous metals. Copper is a non ferrous metal.
You'll be able to scan the roof covering and locate the copper sitting ontop of the rafters.
Sheets of copper cut to size can be purchased here.
2. Thermal camera
If rafters are not accessible.
A good thermal camera on a cold day or cold summer morning will show you where the rafters are. The wooden rafters are better insulators than the roof covering, the thermal camera will show the warmer rafter. Mark their position and drill the first row using this method.
Once the first diamond holes are cut, revert back to measuring up and making adjustments if needed as you go.
3. Measure, measure, measure
If the rafters are accessible, you can measure from the outside wall to the nearest rafter. Remember to add the walls thickness. A solid wall is typically 220mm thick, a cavity wall is 300mm thick excluding plastering/rendering. Measure to confirm.
If not accessible - you can use the pins in the sofit to gauge how far apart the rafters are.
A thermal camera is best for inaccessible rafters. Followed by drilling diamond hole pilot holes and using the Solve Fix seal. Finally, the old fashioned way of removing slates/tiles is also an option.