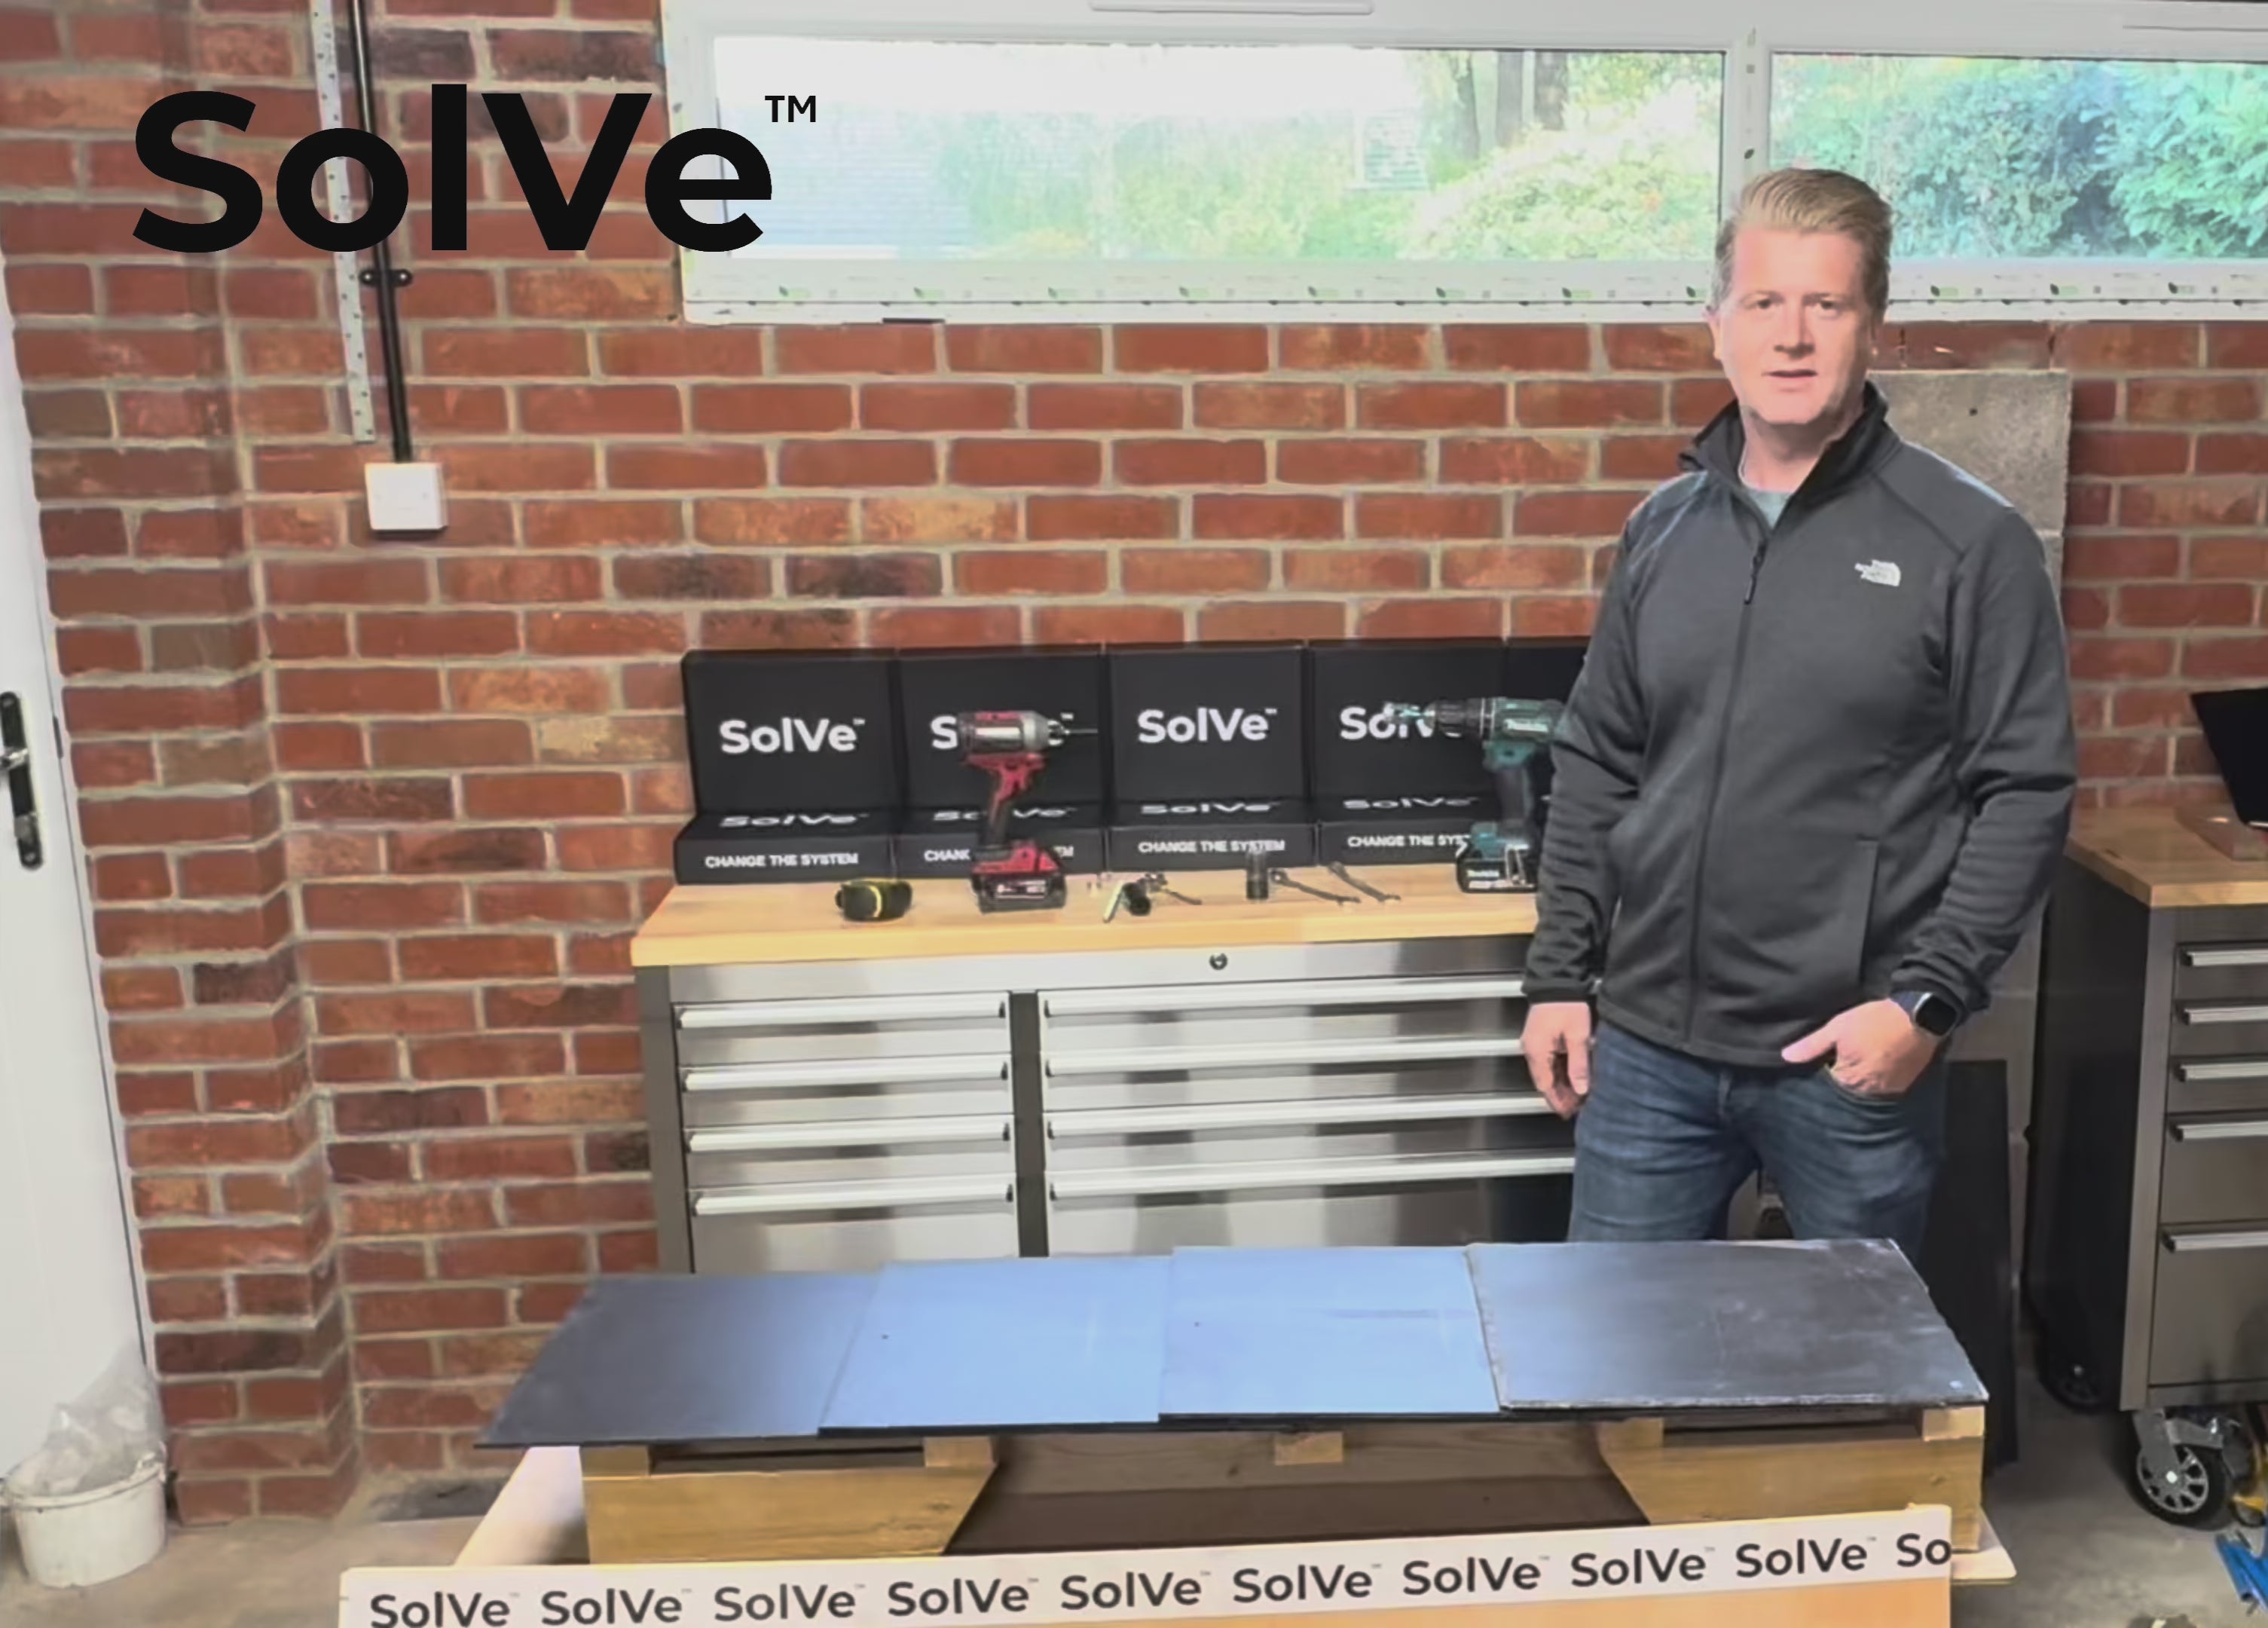
SolVe Videos
SolVe Mount Instruction Video
"Once you have used the SolVe Mount to install on a slate roof - you will never install another way again"

Instruction Video - All in One Method
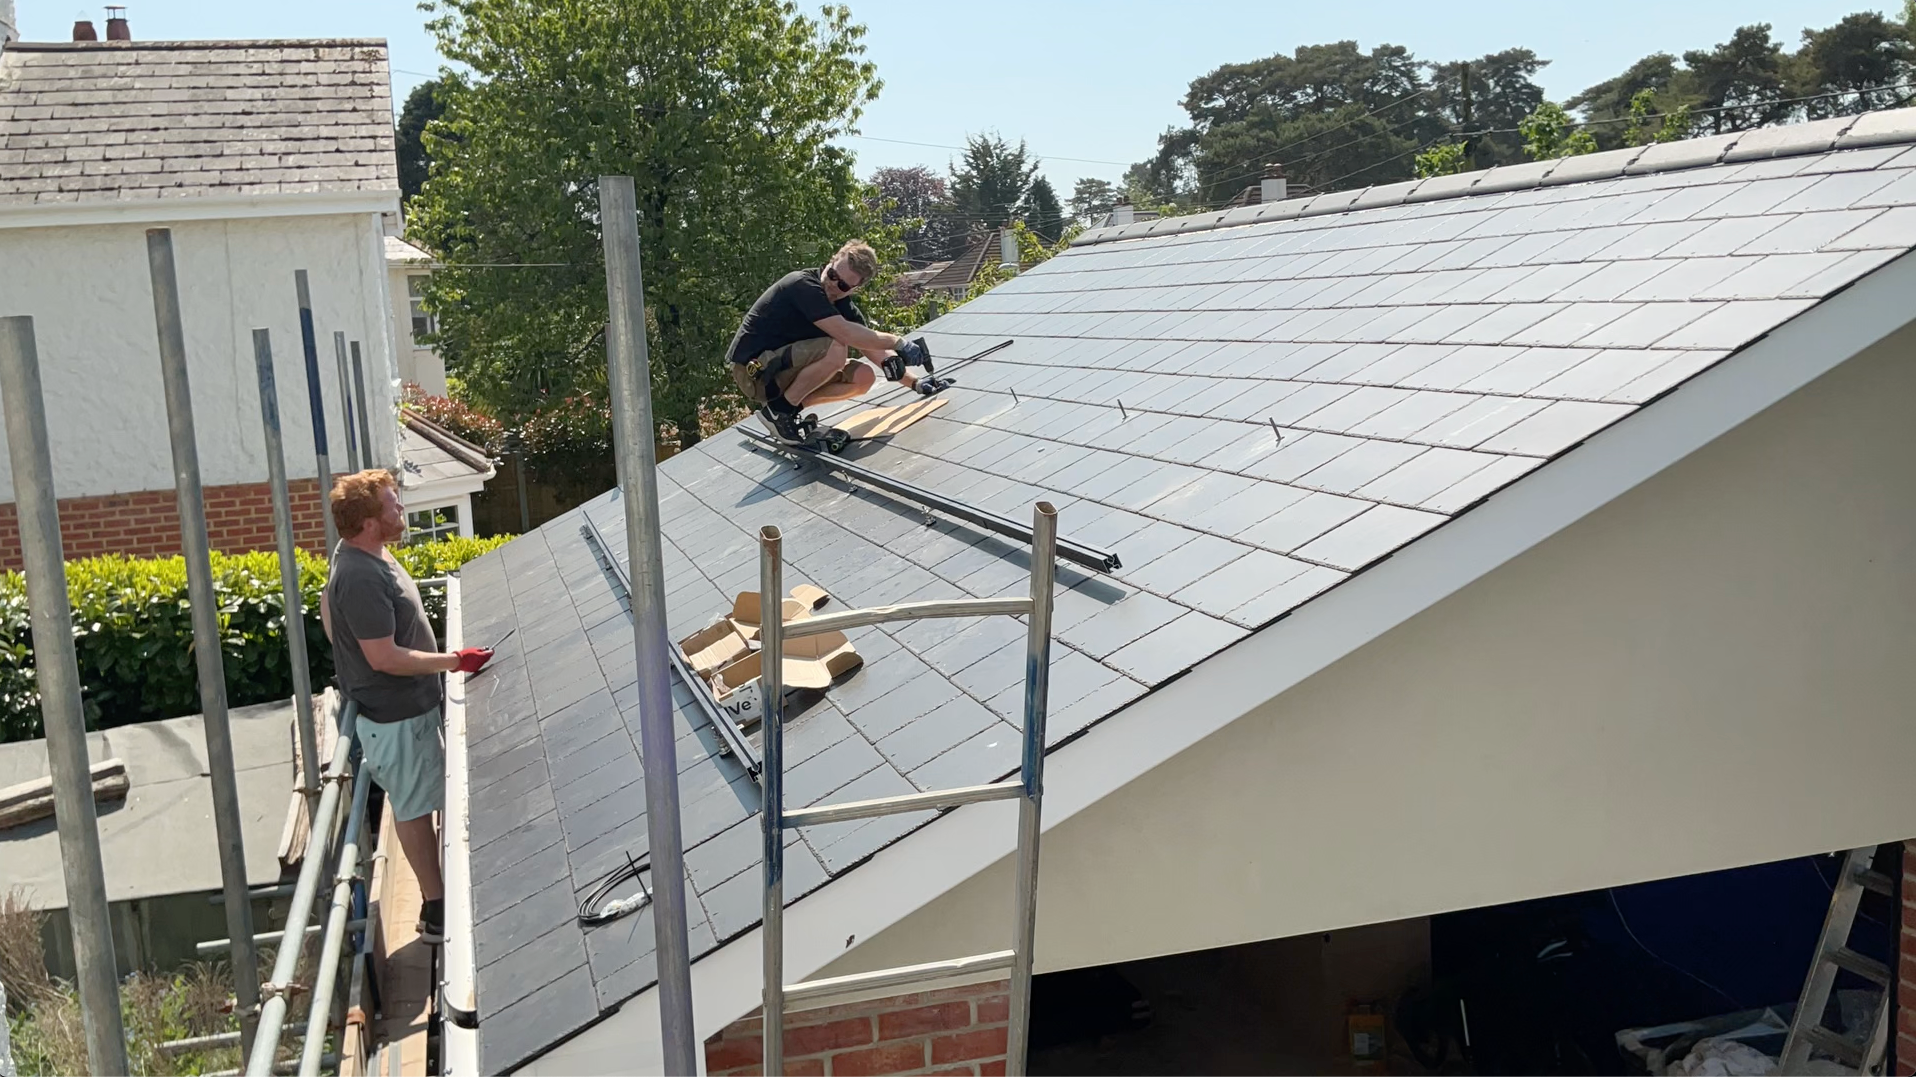
SolVe Installation Timelapse
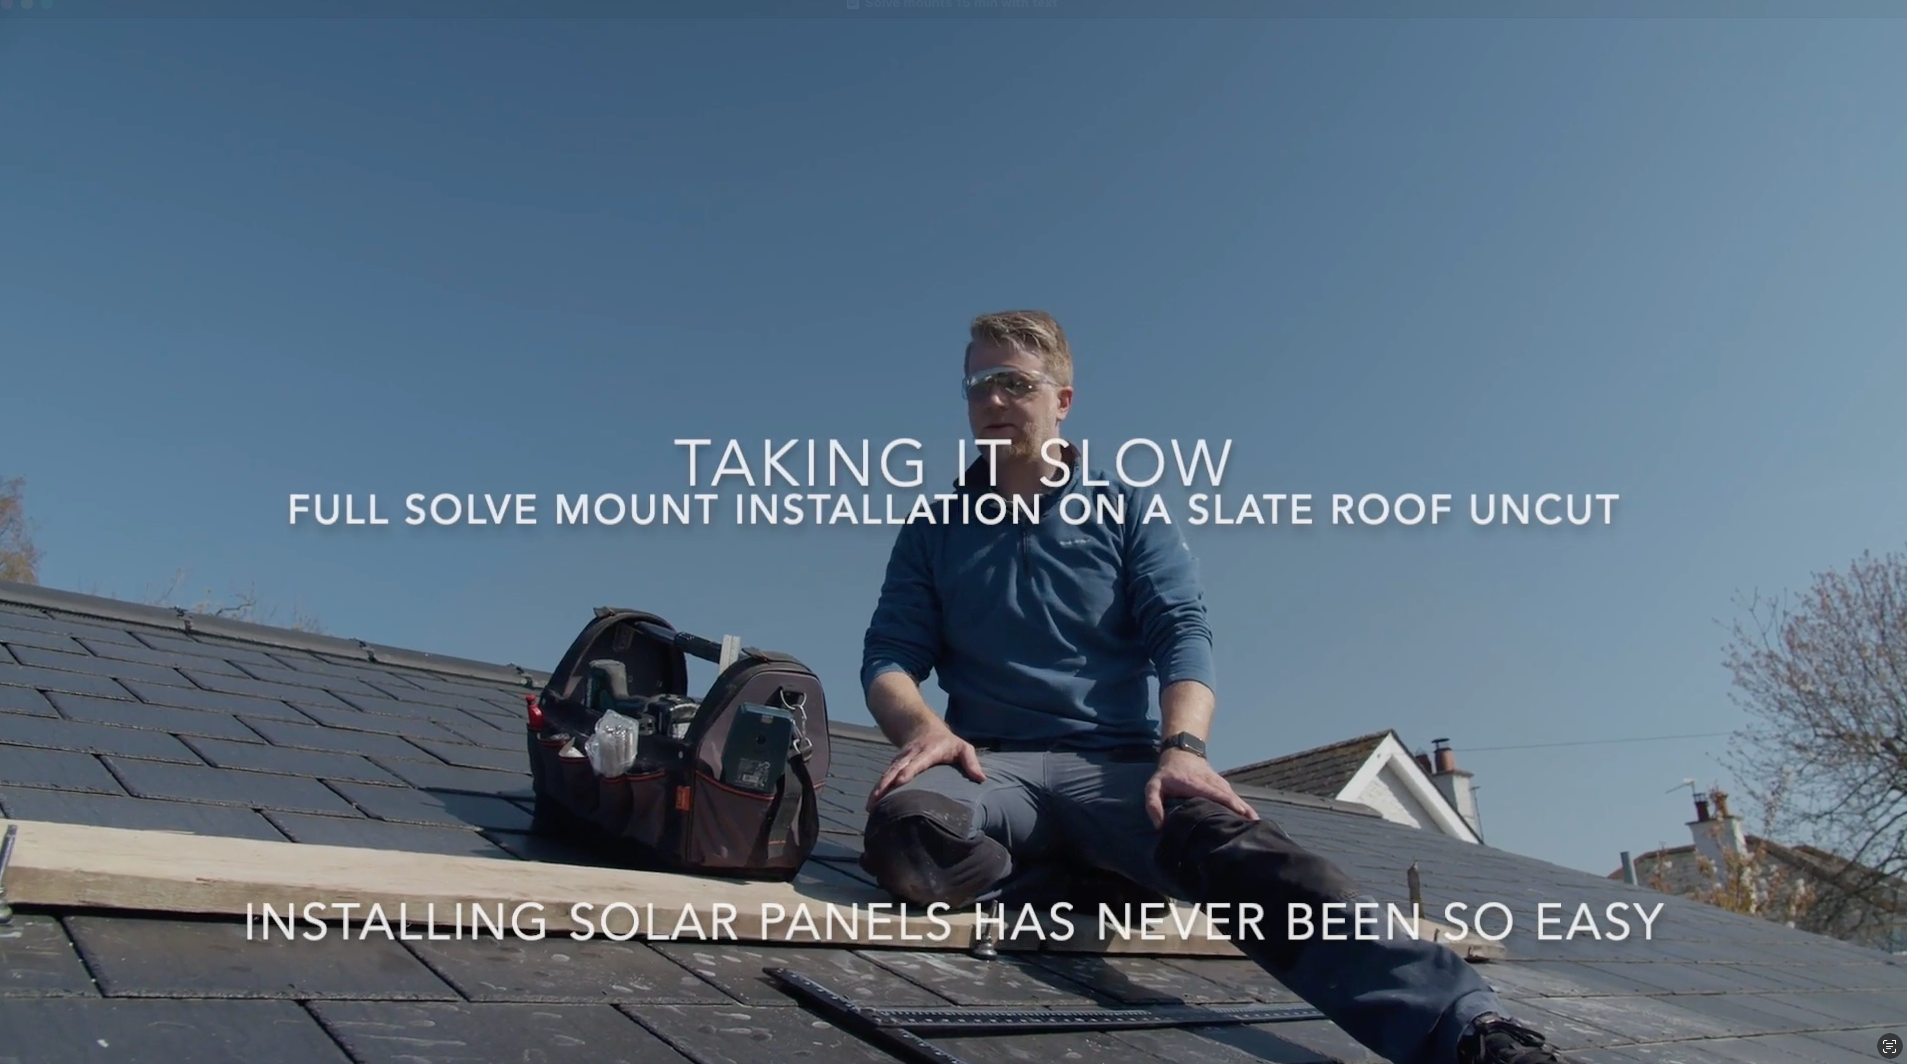
Taking it slow. 15 minute installation explainer
SolVe Mount Installation - Method 2
Not the recommended installation method*
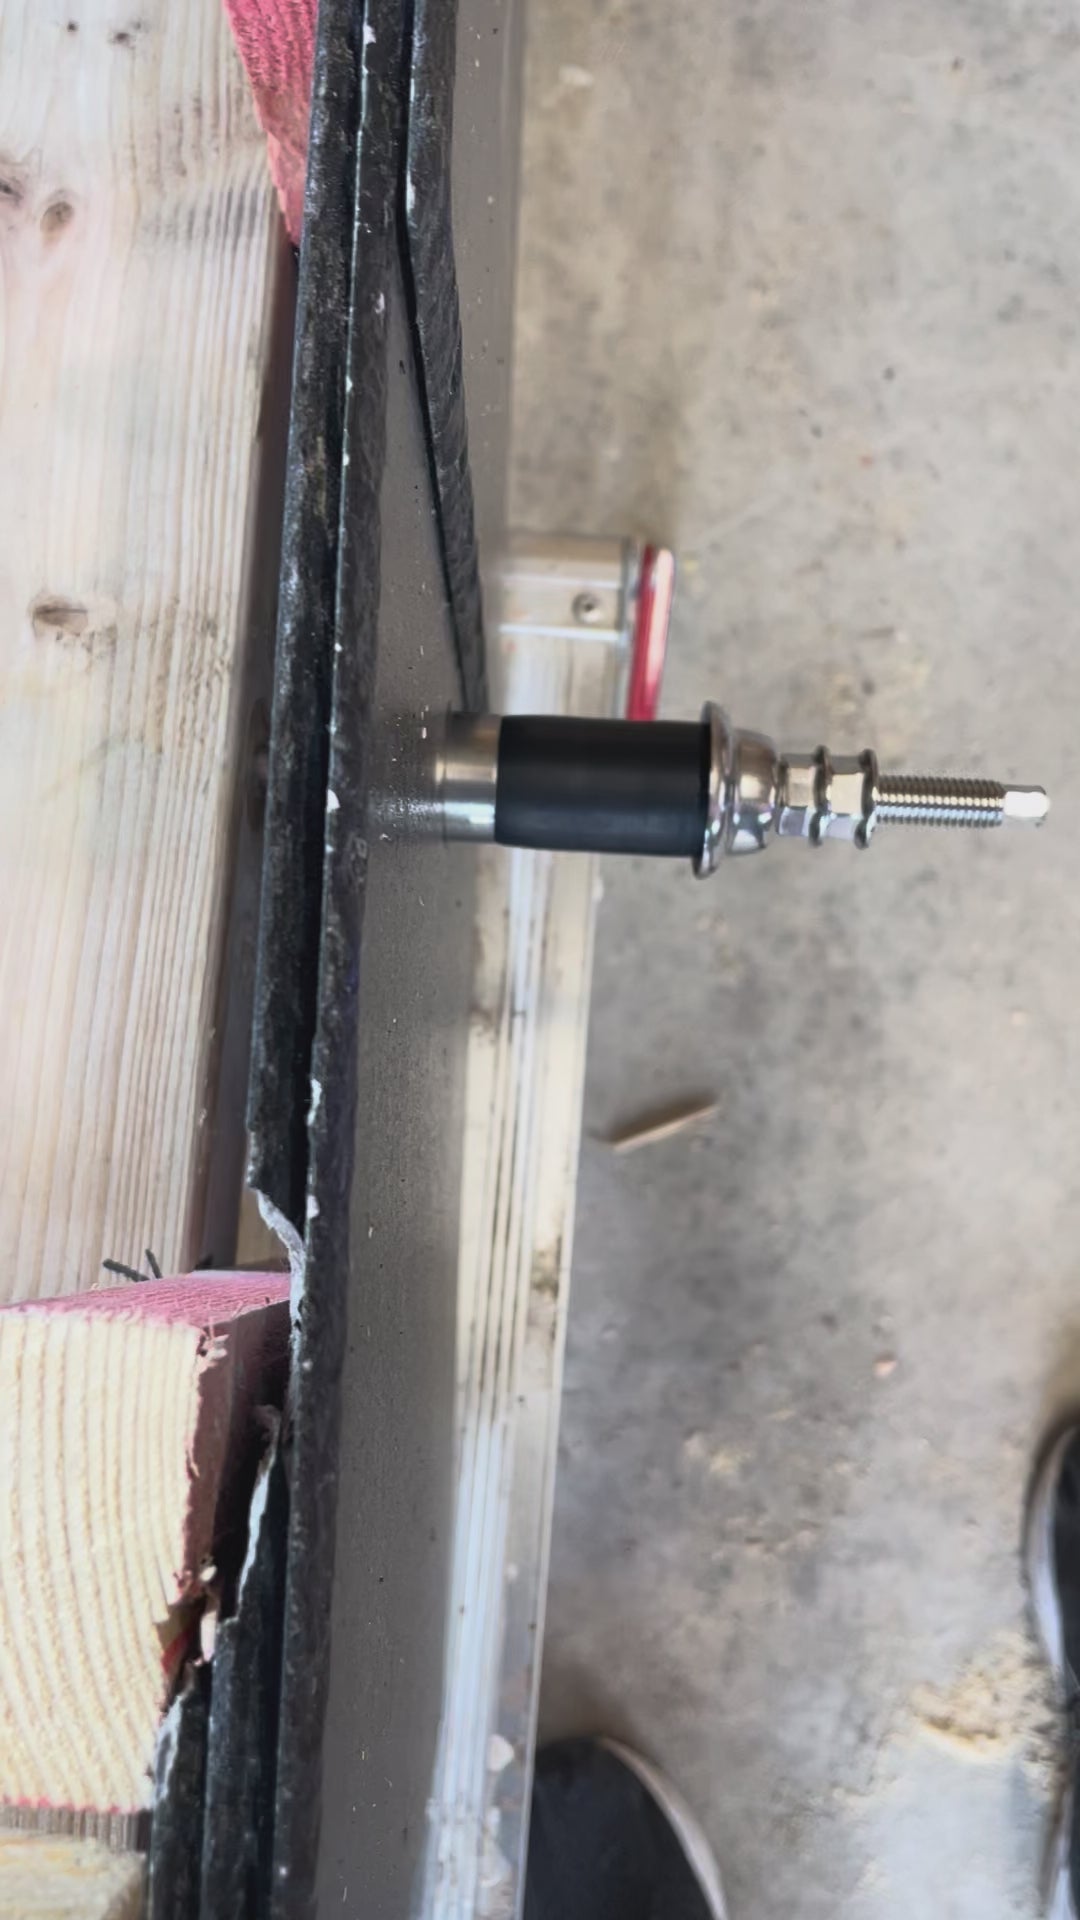
We recommend using the official method, pre assembling the bolt, seal and collar. Tightening the cap/nut by hand to compress the seal after the bolt has been installed into the rafter.
This is a good option if you have experience using SolVe Mounts. Cut. Pre-drill. Fix. Make sure the cap is in it's final position for the roof covering, use the impact gun in bursts to avoid over tightening.
SolVe Seal Installation

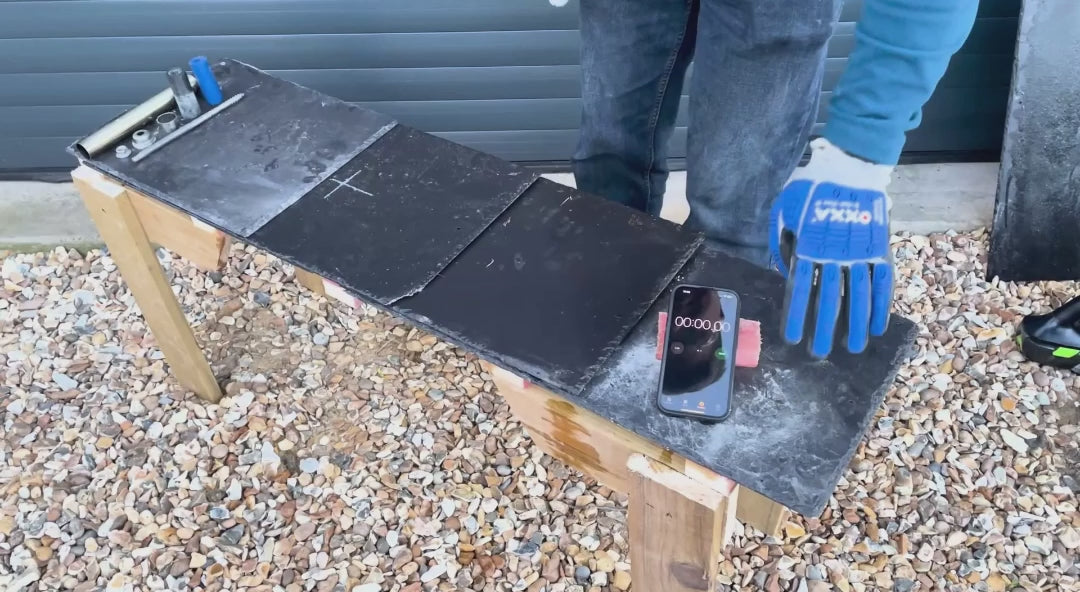
SolVe Mount & 100 year old slate Vs Large Hammer
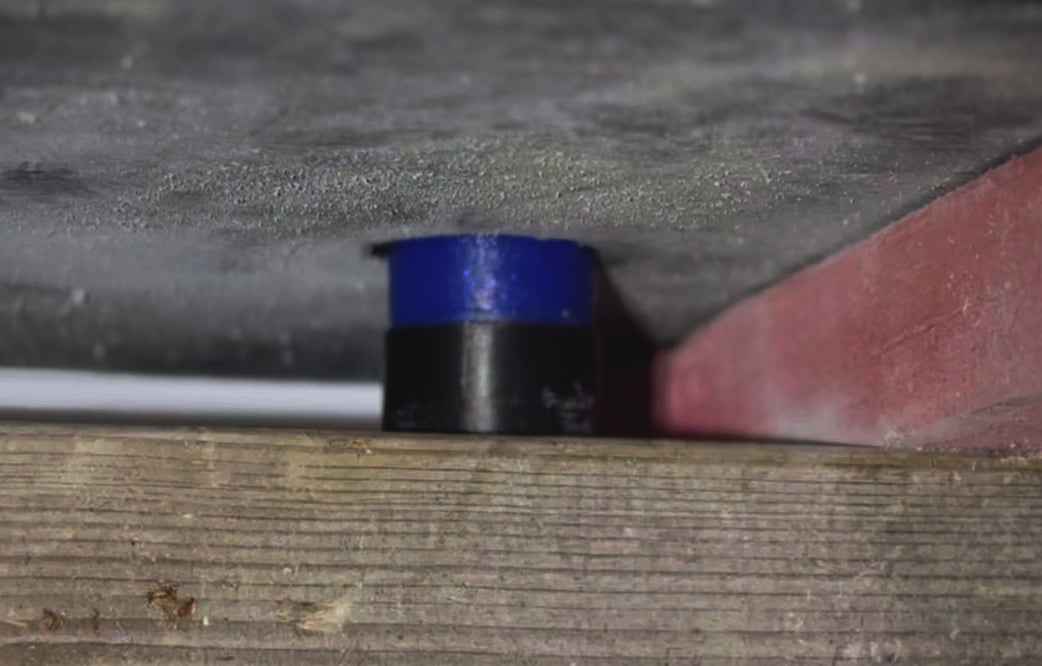
SolVe Seal Base
The SolVe seal seals the diamond cut hole from the underside first...before expanding within the hole and then above the roof covering to create 3 durable and long lasting IPx8 rated seals.
"Show me all the blueprints"
Solar layout planner
Use our quick and easy layout planner to get all the key measurements you need to install your solar array. Save time measuring and calculating whilst on site.
Use centre array, customer positioning, custom panel, rail sizes, different orientations and get key measurements such as the distance between the bottom of the roof and the first rail. Distance between the sides of the array and edges of the roof.
How do you locate the rafters?
- You don't need to be perfectly centre of the rafter, the SolVe Mount has some tolerance.
- Find the first row and measure up the roof.
- After drilling the diamond cut hole, poke your fingers through the hole to check how central you are to the rafter, measure up to the next mounting point and make adjustments left or right if needed.
- Worst case - you drill a hole and miss a rafter - simply use one of our SolVe Fix seals.
- Remember your mounting zones to avoid the battens. Within 60mm of the overlapping slate/tile above.
The tag and scan method (if rafters accessible).
Bosch GMS 120 or similar stud finder (one that can distinguish between ferrous and non ferrous metal)
Place 10-25cm long peices of copper plate onto the rafter that you need to find. Remember you only need to find the first row, working your way up the roof is then straightforward.
Use copper as your stud finder will be able to distinguish between ferrous (metal containing iron such as nails) and non ferrous metals. Copper is a non ferrous metal.
You'll be able to scan the roof covering and locate the copper sitting ontop of the rafters.
Sheets of copper cut to size can be purchased here.
Thermal camera (a good one!)
Best for: If rafters are not accessible.
A good thermal camera on a cold day or cold summer morning will show you where the rafters are. The wooden rafters are better insulators than the roof covering, the thermal camera will show the warmer rafter. Mark their position and drill the first row using this method.
Once the first diamond holes are cut, revert back to measuring up and making adjustments if needed as you go.
Measure, measure, measure
If the rafters are accessible, you can measure from the outside wall to the nearest rafter. Remember to add the walls thickness. A solid wall is typically 220mm thick, a cavity wall is 300mm thick excluding plastering/rendering. Measure to confirm.
If not accessible - you can use the pins in the sofit to gauge how far apart the rafters are and also where the rafters are likely located. (Pins typically fix into rafters).
A thermal camera is best for inaccessible rafters. Followed by drilling diamond hole pilot holes and using the Solve Fix seal. Finally, the old fashioned way of removing slates/tiles is also an option.
Remove slate or tile
If the other options are not suitable, you can simply remove the slate or tile like you would with other mounting solutions. Remember you only have to find the rafter once and can then use the diamond cut hole to assess how central you are before drilling the next hole further up the same rafter, making small left/right adjustments as required.